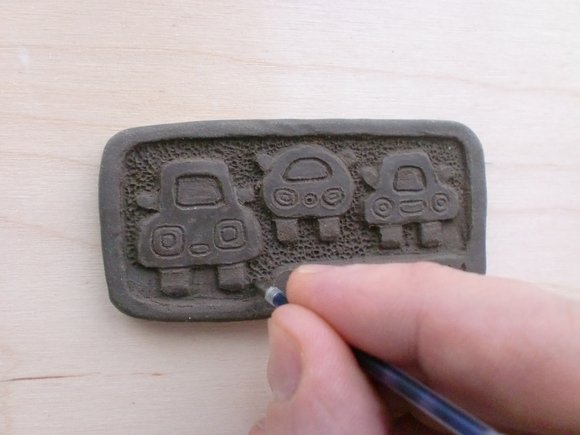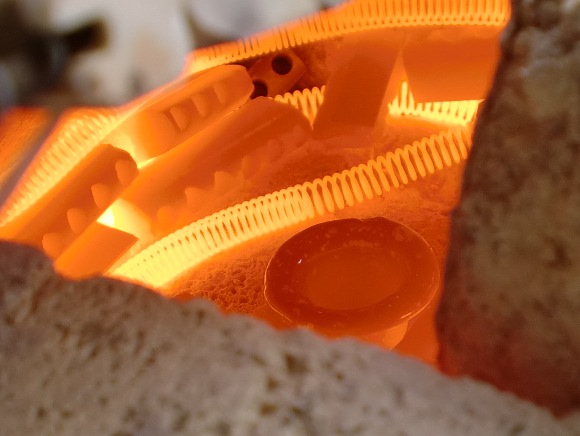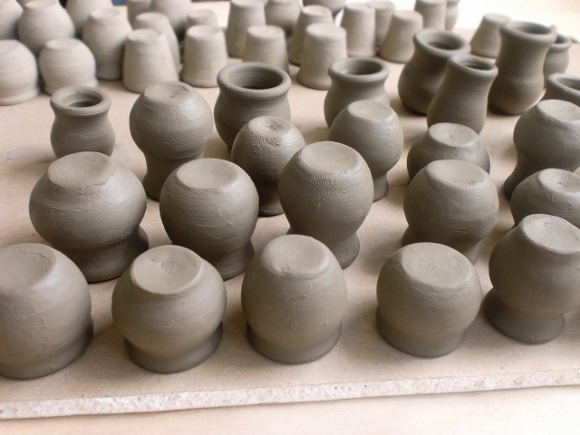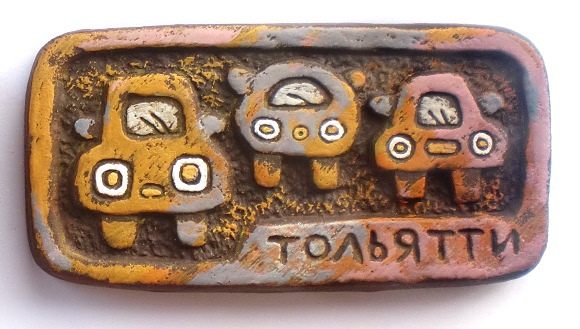
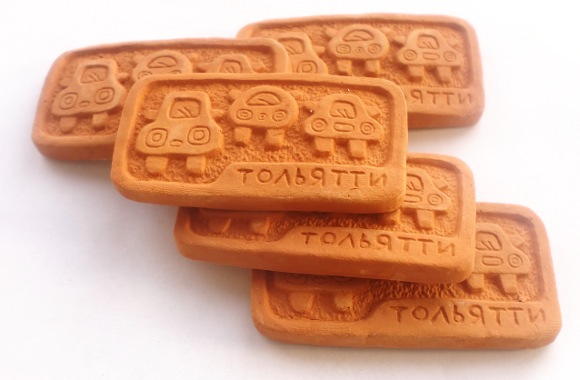
At this lesson we will continue working at our fridge magnet. At the previous lesson we have learnt to burn ceramic articles, and now we have small relief articles that have been fired.
The first thing you need to do with them is to glue a magnet to them on the back of them. The best thing is to use epoxy, but if you have no time to wait for 24 hours for it to harden, you can use regular superglue.
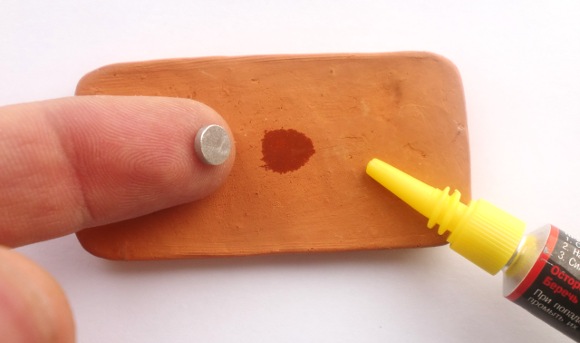
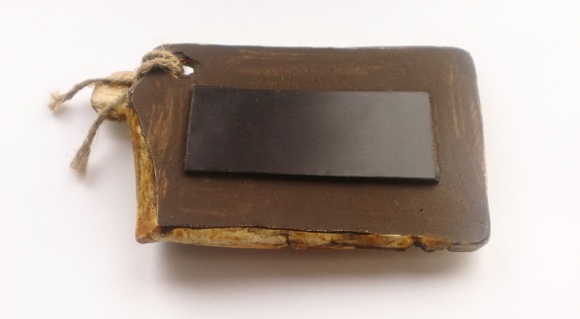
There are different magnets: ferrite, neodymium, in the form of a ribbon. You can use any of them; the main thing – make sure the magnet is strong enough to hold the weight of the ceramic article. A very good option is a vinyl tape (or a vinyl sheet): it’s not very thick and it can be adjacent to the metal surface very well. Cut a small rectangle off the tape and glue it, as it is shown in the picture:
If you don’t find magnets in your city you can order them via an online shop, for example, in Magnet Systems.
Now let’s begin coloring. As an example we can use the works of the wonderful artist and ceramist Ilya Loginov; you can find his magnets on Ozone.
Ilya Loginov’s works on Ozone
at the Craftsmen’s Fair
So, let’s begin. First cover the whole surface of our articles with the same color, for example, brown.
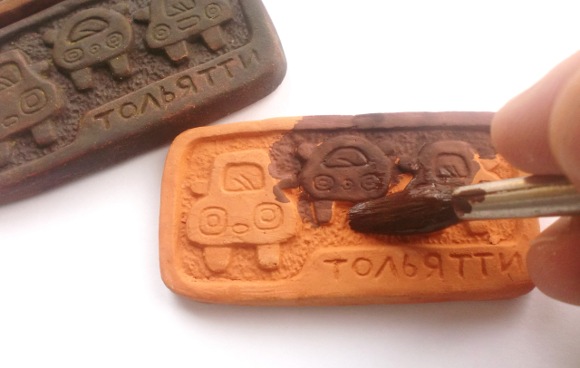
Then cover with different color.
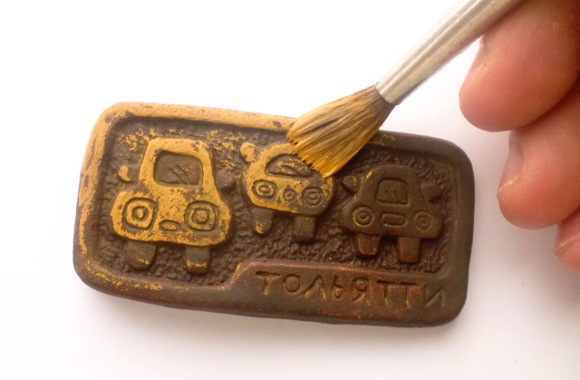
Herewith it’s important not to take too much paint with a brush; otherwise the paint will not get into recesses. And we want them to be colored. As an alternative to the brush you can use pieces of foam plastic sponge.
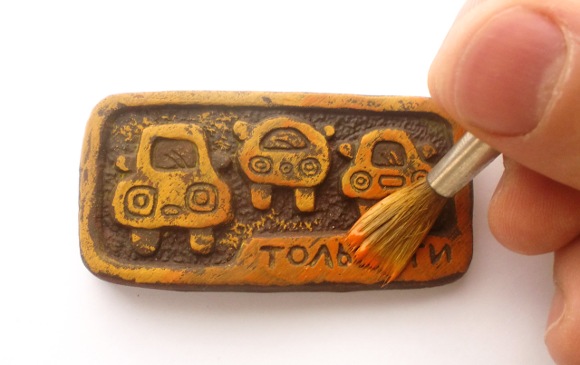
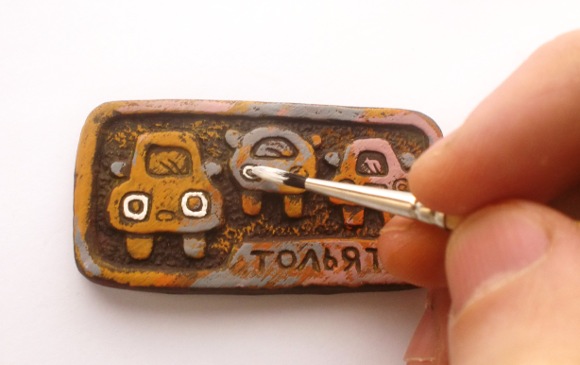
At the last stage color small details with a thin brush.
 You can use different colors: oil, tempered, acrylic. The only thing that matter is that paint needs to be indelible.
Most conveniently to work with acryl paints; they dry fast and the paint layer is durable. You can use either decorative paint or cheap house paint.
These are the magnets we have got:
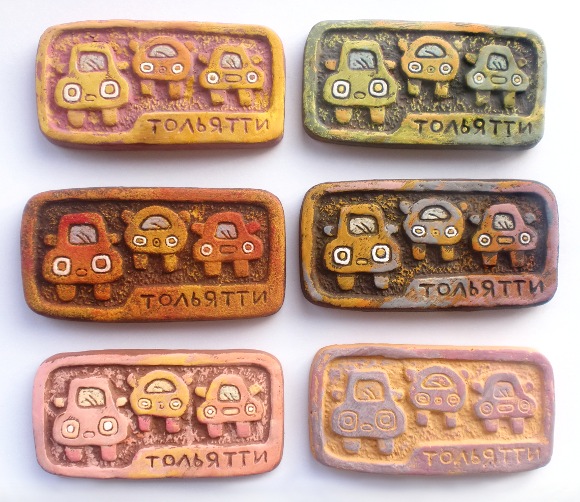
What about you? On our forum you can share your achivemnets :)
Tags: Magnet Categories: Lessons


