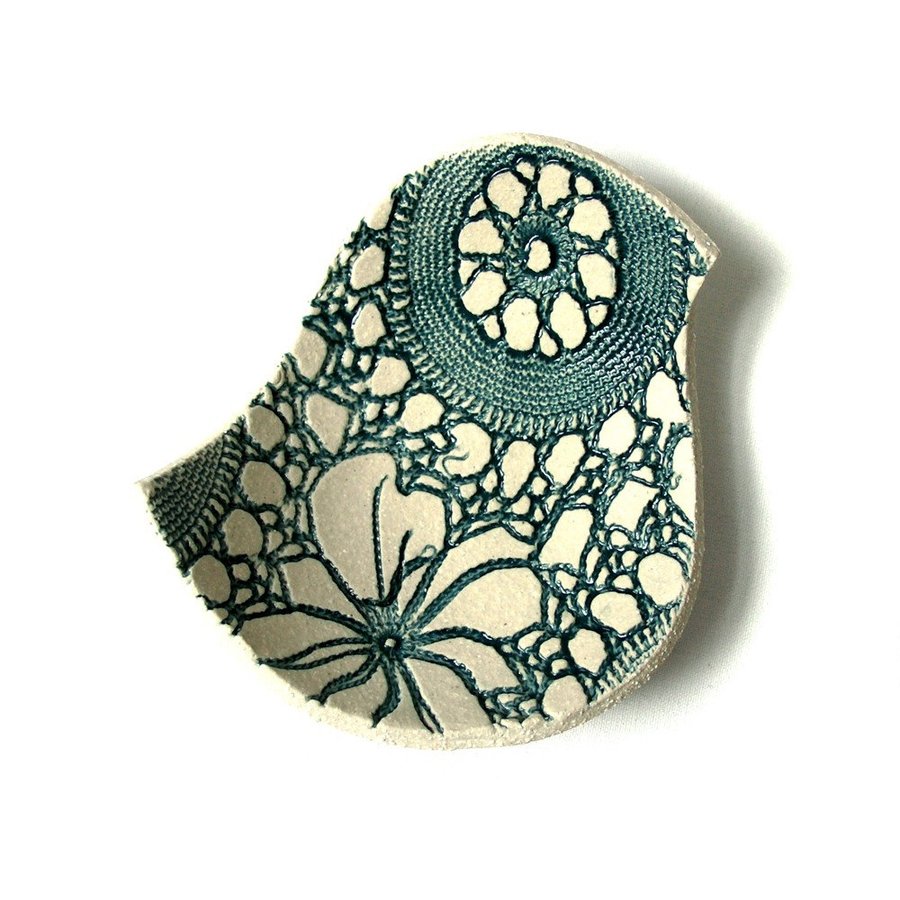
The opening of the Olympic games in Sochi became known all over the world; the Ukraine is still raging; America keeps sticking its nose in everybody else’s business… Our war vehicle is by the window and it does not start… It’s high time to sit by a warm radiator and do something for pleasure)). Today we will make lace pendants from clay. You can choose any form for your pendants; we have chosen hearts and birds. All the more Valentine ’s Day is near at hand. And Women’s day is around the corner…
For today’s lesson we will need white (light) clay. If you happen to have a clay deposit nearby, you are one lucky guy))). If you don’t then you will have to get it somewhere. In Togliatti we have a shop “Leonardo” where you can buy lots of things for handicraft. They have different types of clay there as well. I liked clay powder for plaster casting. Though this clay is for casting it is quite suitable for moulding. You can also make these pendants from polymer clay or self-hardening ceramic paste.
So to prepare our clay for moulding you need to pour some water into a box (about 300g); mix it, knead it thoroughly and form a ball (a roll).


Now lay out a small piece of clay on a piece of cotton fabric and roll it with a rolling-pin (or any pipe). You can put another piece of fabric on top of the clay to print a pattern on it. Don’t make clay too thick; for that lay small boards or plywood strips (about 5 mm thick) on the sides of the clay.

Now lace joins in. I have found lace in Wonderland, but you can find it at any dry-good store. As a rule there are lots of fabrics chips that will work fine for us. For our pendants it is better to get lace with small pattern; you will have then clear prints.

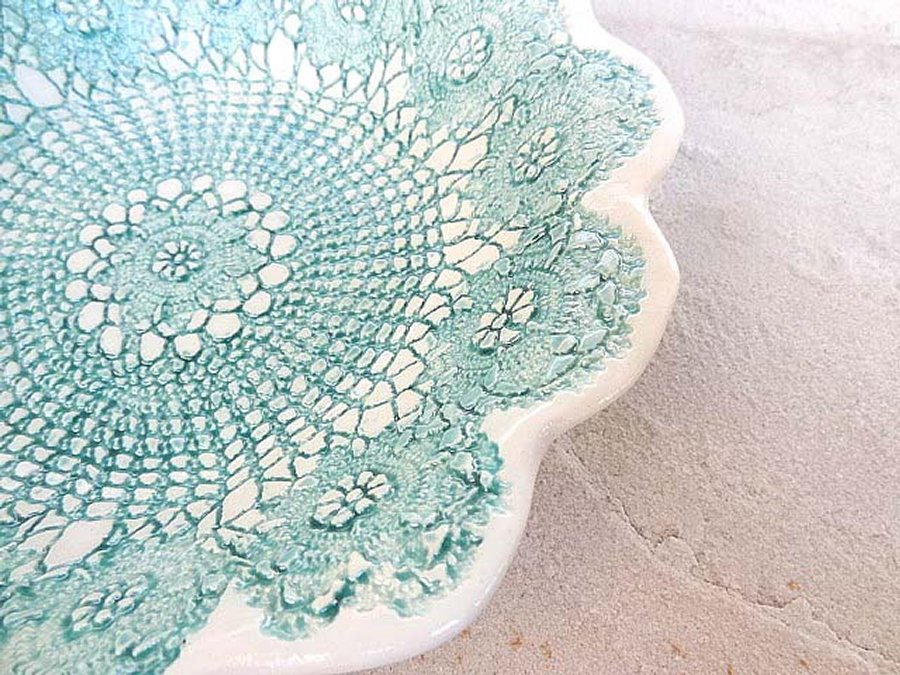
Lay out lace strips on the clay and roll it with a rolling-pin.

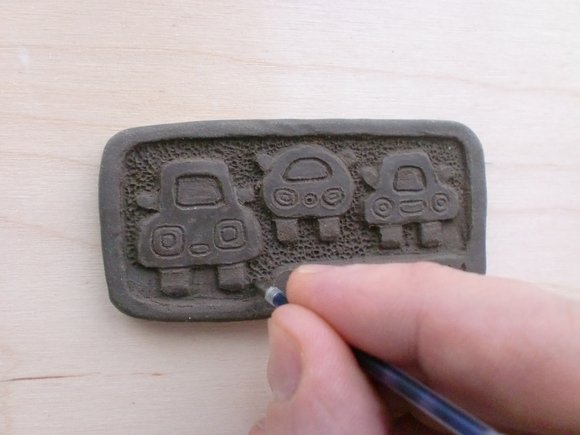
A triumphant moment: take away lace and… splendid! The imprint is left in the clay.

Now you only need to cut “cookies” in desirable forms. You can do it with the help of baking cutters or special cutters for polymer clay.

Another option is to use samples. You can cut paper samples, or even better transparent plastic samples to see the imprint.

Polish the edges.

Then make a hole. Don’t make it too small otherwise the string won’t go through it.

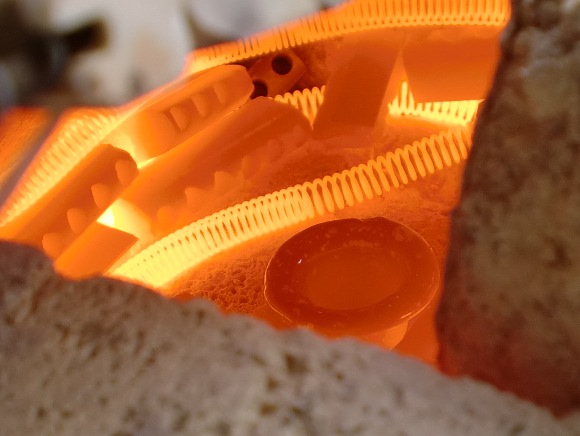
Let’s fly to the kiln!

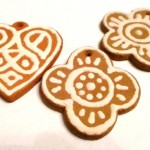
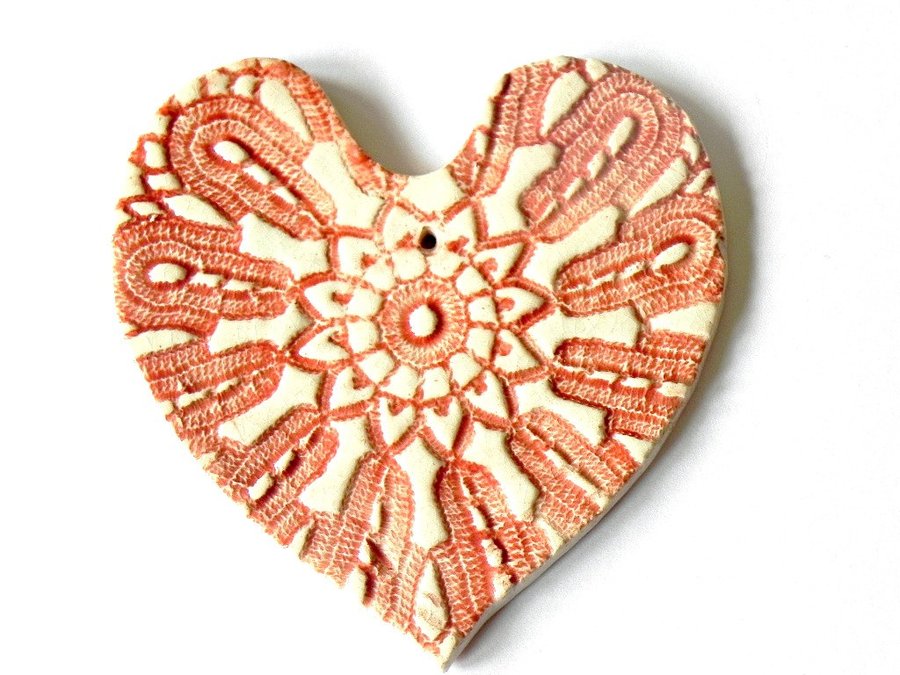
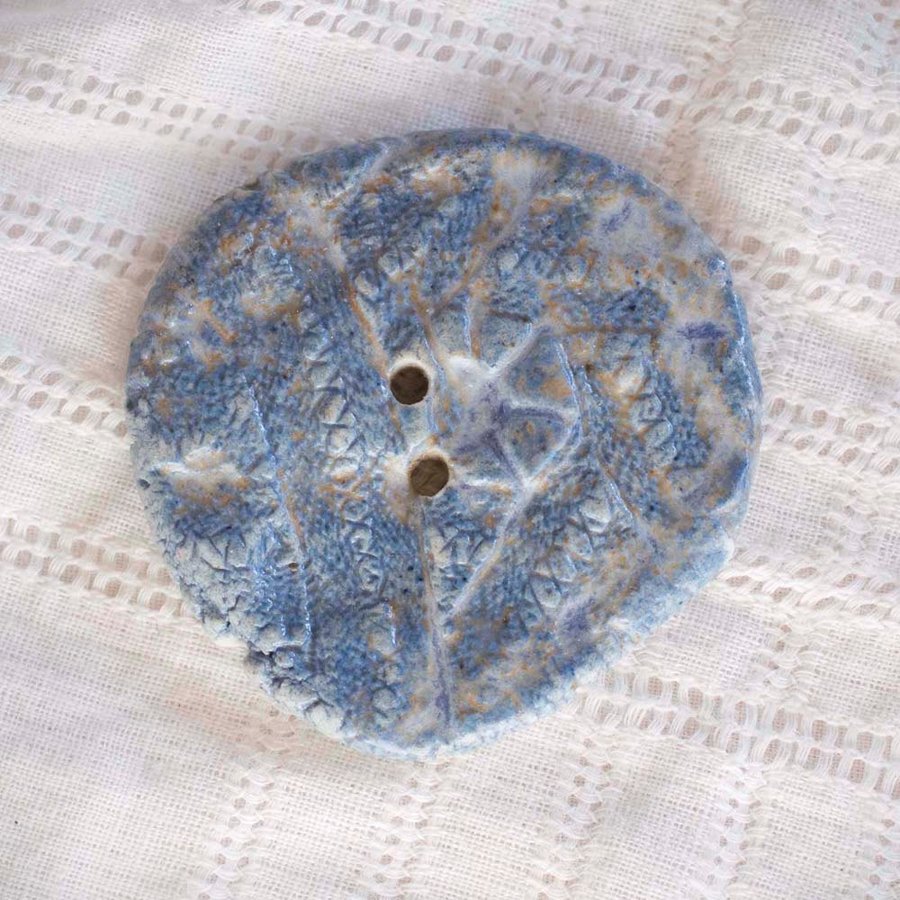
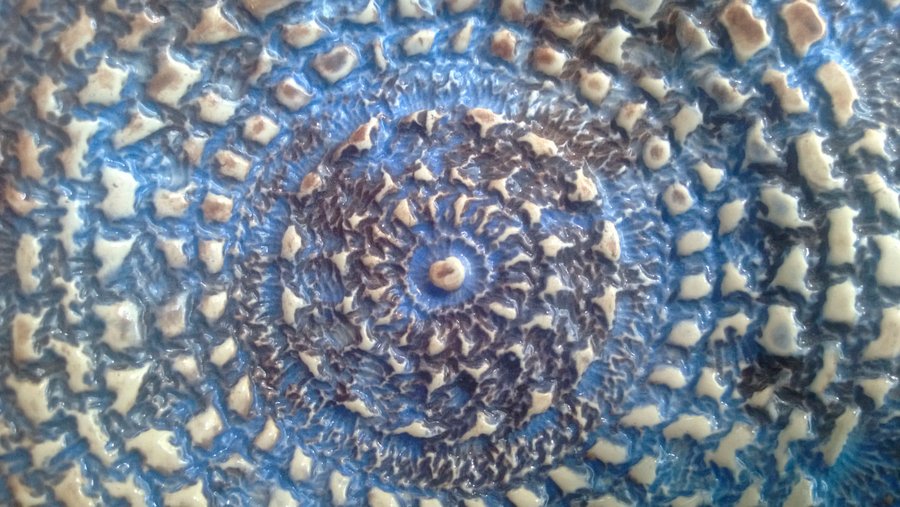
After firing proceed with the next stage – decorating. As a matter of fact our pendants look nice even without any cover. But we will still apply a very effective decorating method. It is called “finishing”. Cover the article with paint and then finish protruding parts. So you will have paint only in recesses. Such articles look noble as if they have been around for a long time.
So, dip the heart into the water for a short time (if you work with polymer clay don’t do it).

Cover the heart with paint. You can use acrylic, oil paint, tempera, bitumen paint and etc.

Now wipe off the top layer with a wet wash-cloth.

You can leave paint on the edge bead and the back side, or you can finish it as well.

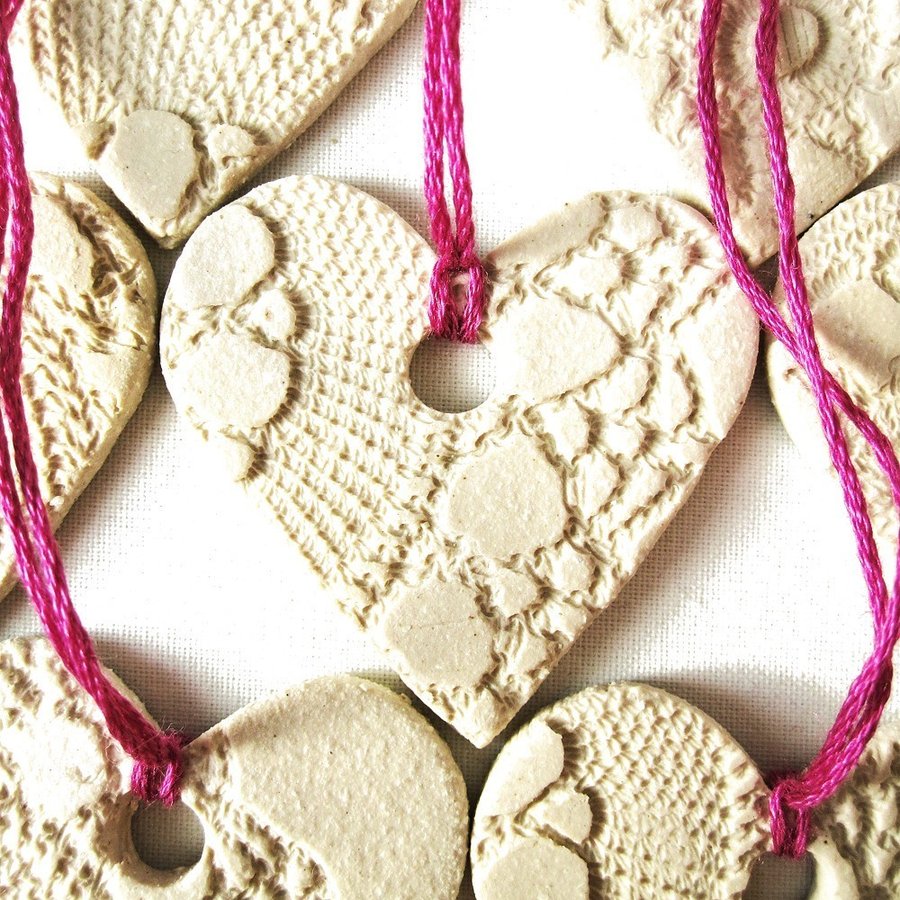
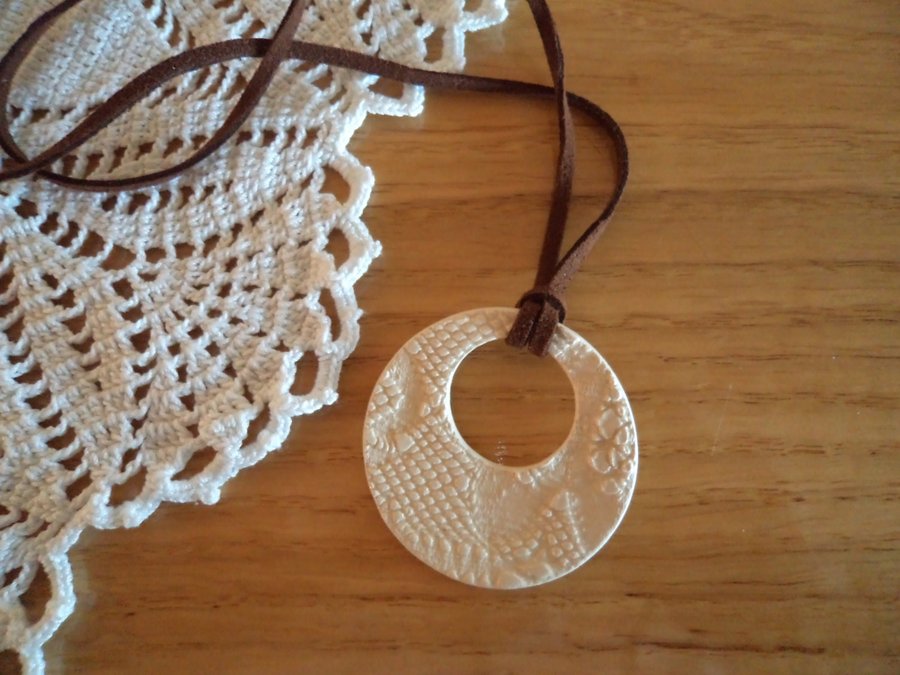
Now you only need to tie a string. And it’s ready!

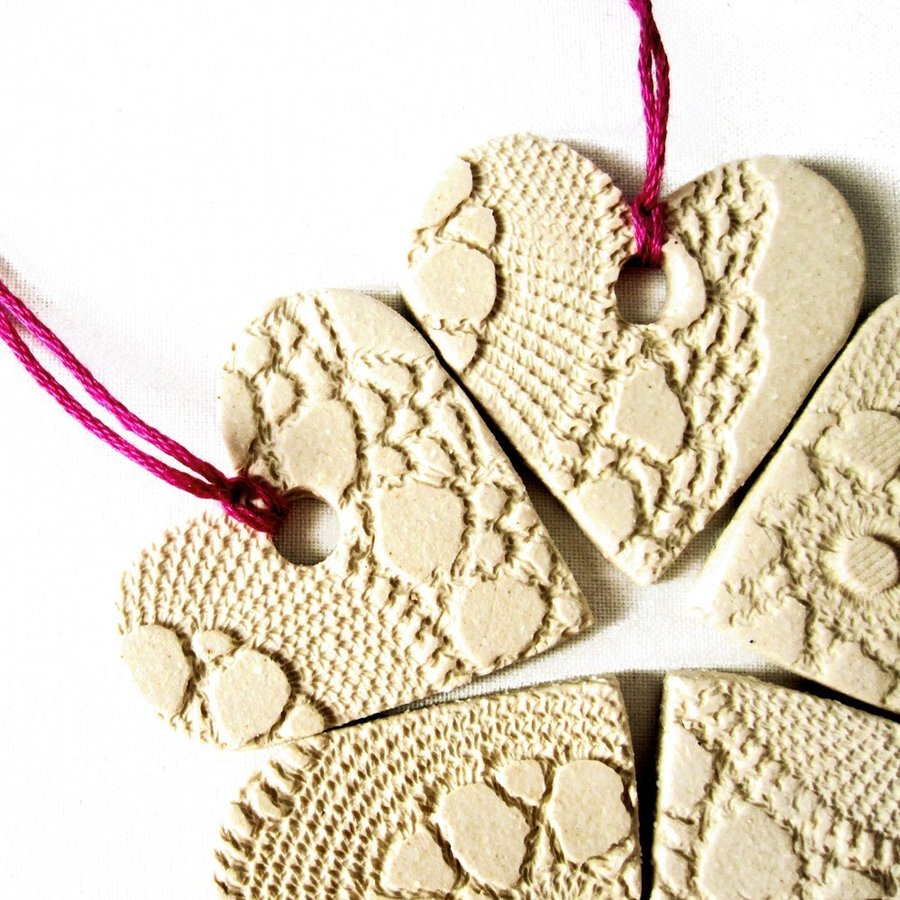
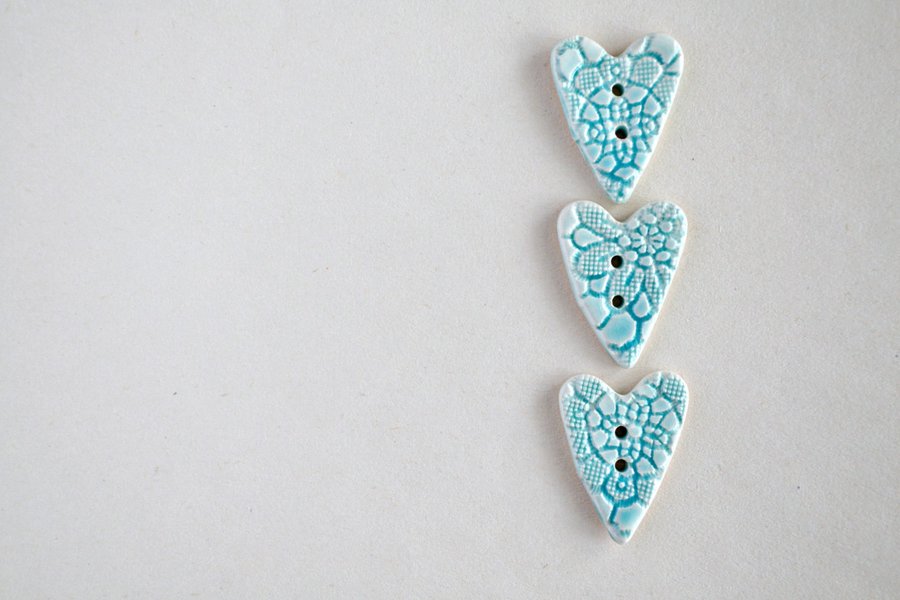
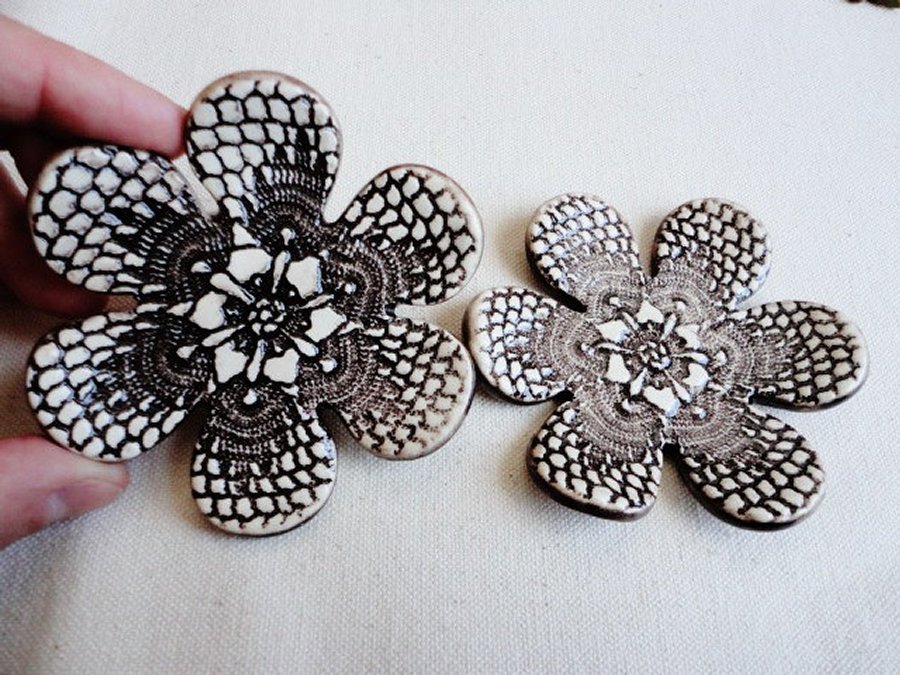
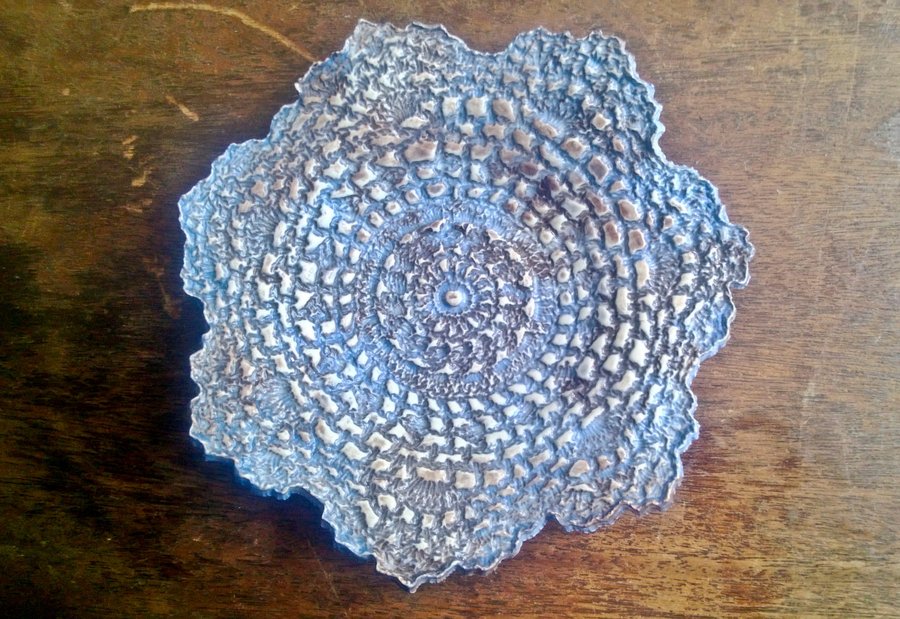
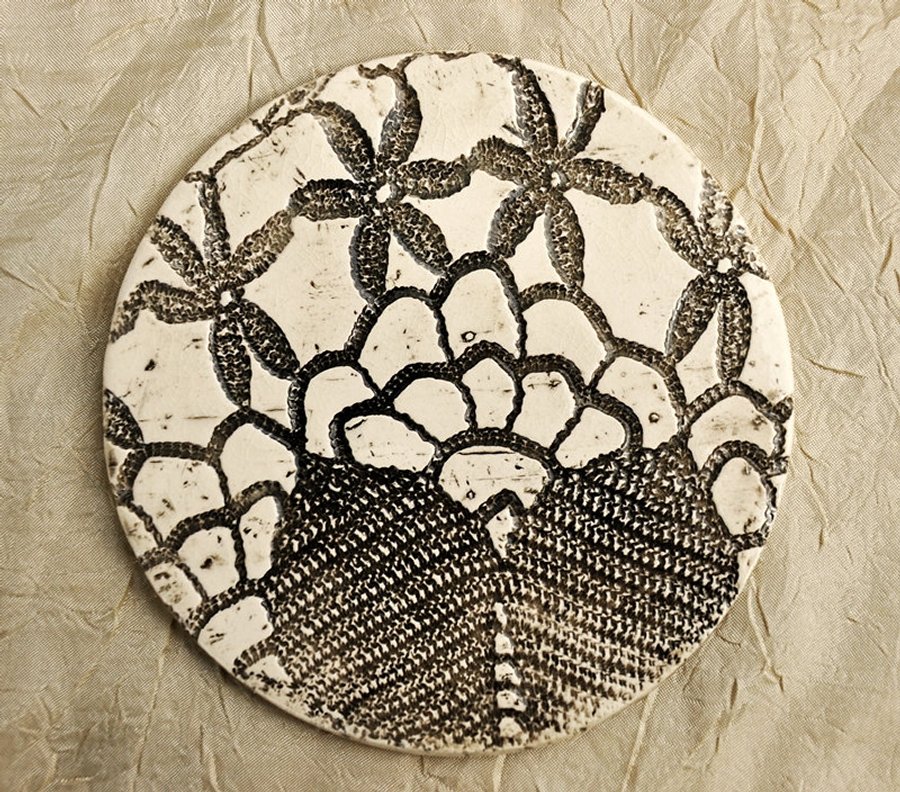
These are the lace pendants we have made.

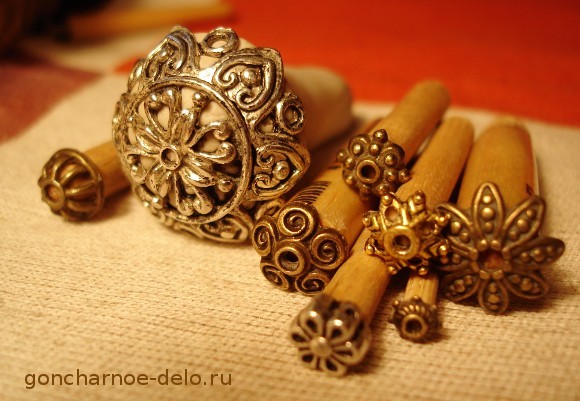
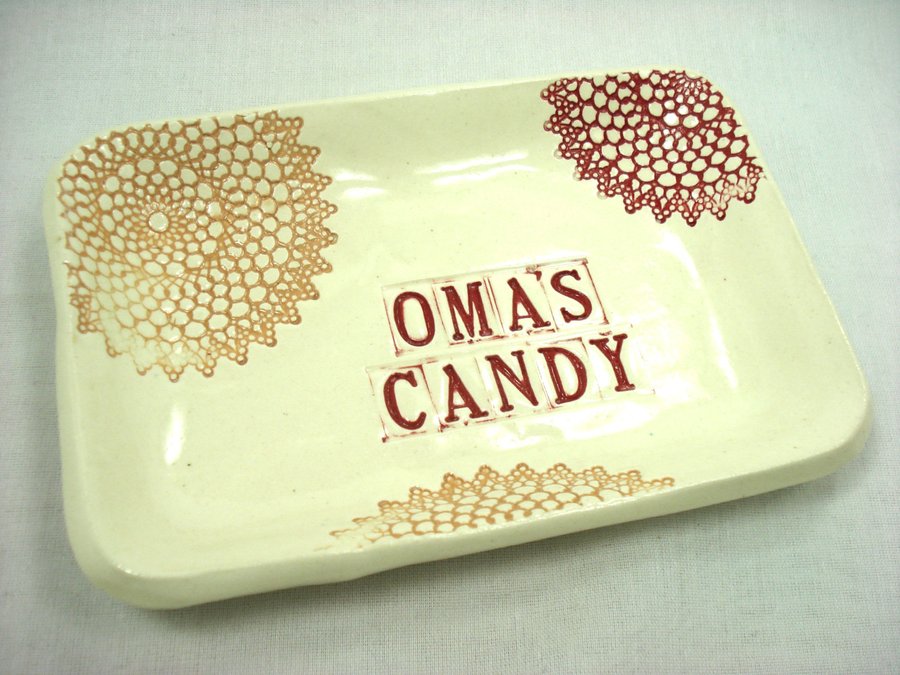
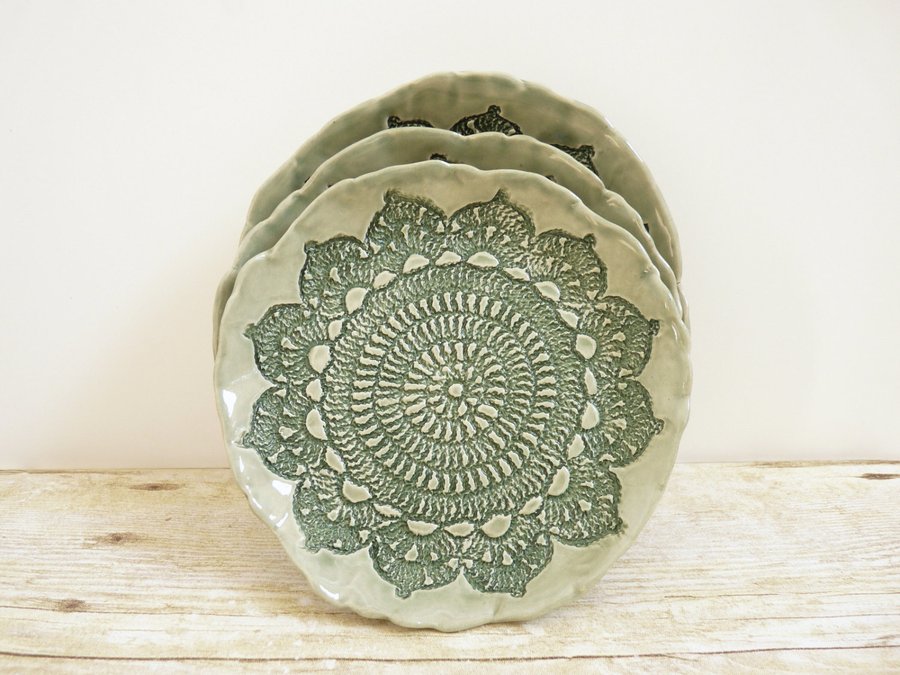
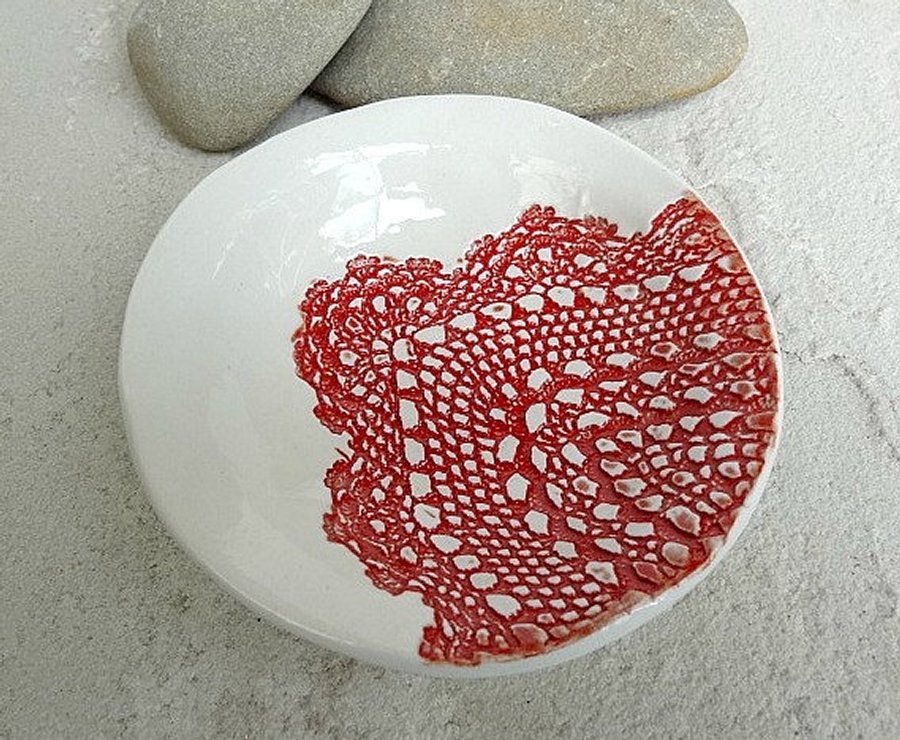
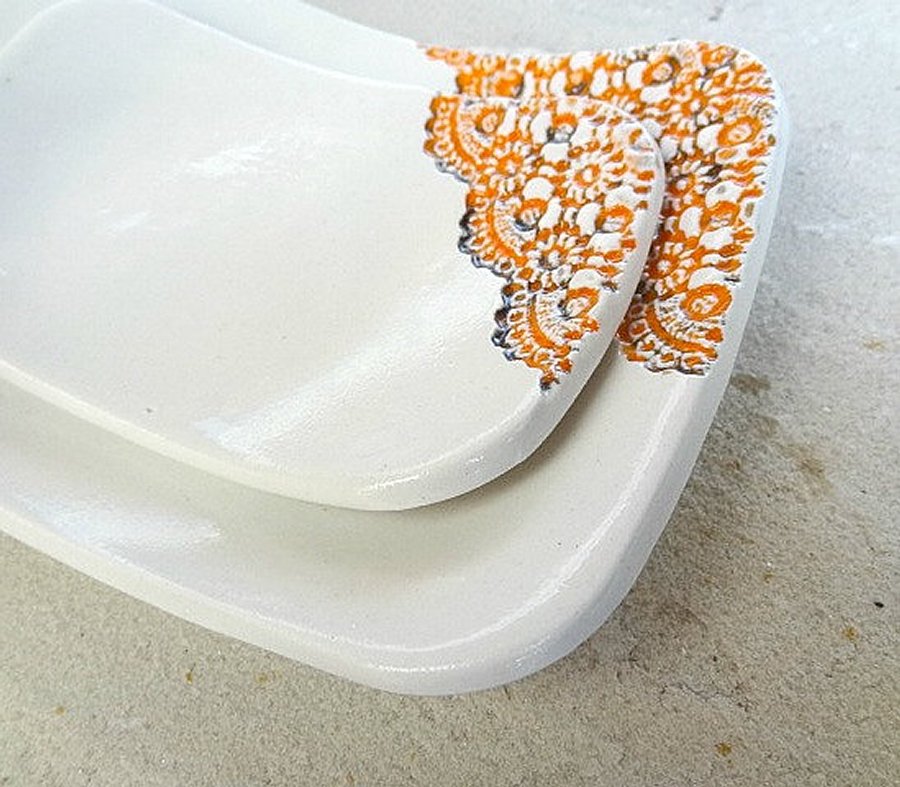
And in the end more lace ideas. And I tell you goodbye; see you again on our website! May success attend you in clay moulding and pottery!


P.S. Comments are welcome!))
Tags: Clay molding Categories: Lessons