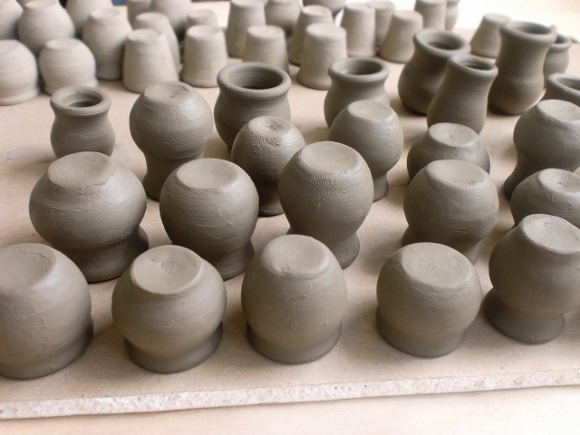
So, our articles have dried well, now it’s time for them to go to the kiln.
The first burning (it can the last one) is called biscuit firing (the first firing). You can stack articles on each other when you do this kind of burning, as they are not covered with anything; and the temperature is not too high, it goes up until 900°С.
The first thing you need to do is to check if the coils in our kiln are working. If any of them has burnt out you need to wring the wire ends at the place of disconnection or change them. It is important to make sure that coils would not sag deflect, because then they can cross over and burn out at closing operating. Fix coils in their trenches with small pieces of nichrome wire (insert these pieces into bricks vertically, like nails).
Now carefully place your articles into the kiln; the first layer should be heavier and bigger articles, then smaller and lighter ones.


If you have hollow items you can place several small articles inside of them.

Close the door and switch on the kiln. At first set the switch at the lowest temperature (stick position 1) wherein coils will be connected successively.
The main secret of good burning is slow rise of temperature, that’s why we need to switch off and switch on the kiln from time to time. Professional kilns are automatic; there is a special PID control. And meanwhile we will switch it manually.
Wait for 5 minutes and switch it off. In another 5 minutes switch it on for 10 minutes and then turn it off for 10 minutes. Then turn on for 15 minutes and turn off for 10 minutes. Then switch it on and wait until the articles are a little red. You can see it through a small window in the door of the kiln (if you have not drilled it yet, do it, but don’t forget to switch off the kiln preliminarily).
Then turn the switch into position 2 (herewith only one coil is switched on). The operation mode is the same” 5 min – 5 min; 10-10, 15-10, and then turn the kiln on till the articles are ready. When you turn off the kiln when the switch is on the 2nd position, you can just switch it at the 1st “speed”, and then back.
The 3rd speed is almost never used during biscuit firing. You can use it if during firing a coil is burnt out, then the 2nd speed will be on. On an average the firing will take about 4-5 hours.
You can determine the degree of readiness by color of the crock:


The second picture (at the upper left) shows slight redness after which we switch the 2nd “speed”. The last picture depicts light yellow show color – you can switch off the kiln.
This is it. Leave the door of the kiln closed for several hours, better till the next day. Then we can get our articles out and admire them))
For the final I want to add that the operation mode of firing can differ from one above mentioned. It depends on the size of the articles, and on the quality of the clay they are made from. If you have doubts increase heating time, i.e. add 5- and 10- minutes intervals.
Successful firing! See you soon!
Categories: Lessons