We are continuing to disassemble the main stages of work on the potter’s wheel. In this lesson we will learn to form the bottom of the vessel.
So, we have a well-centered piece of clay.
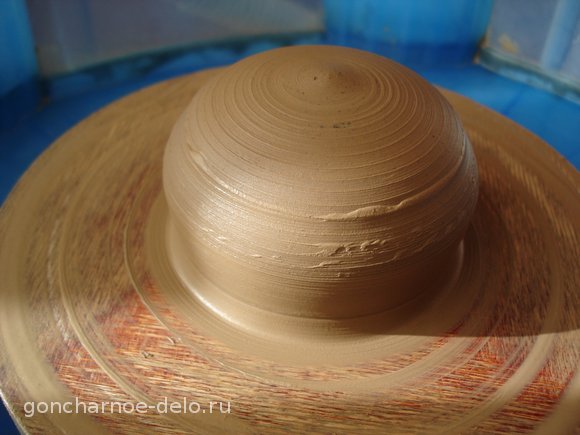
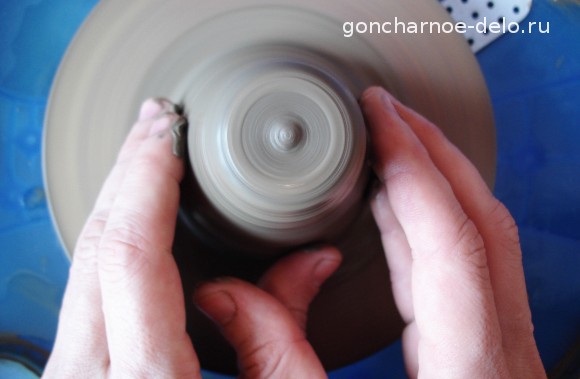
Now the index finger is centered and lightly press down. It is important that the finger is fixed on the rotation axis and not walk sideways.
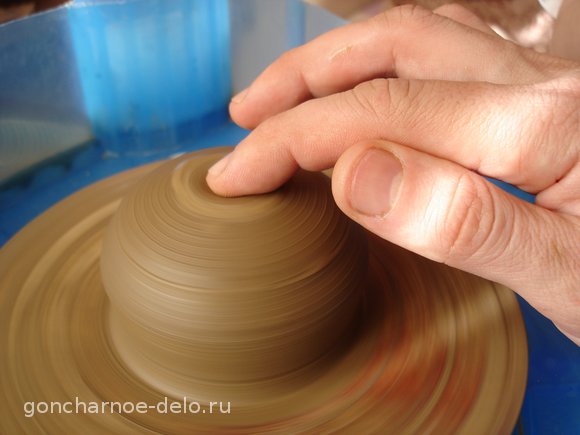
Now press down harder and move your finger down the line. The angle of inclination of the finger – about 45 degrees.
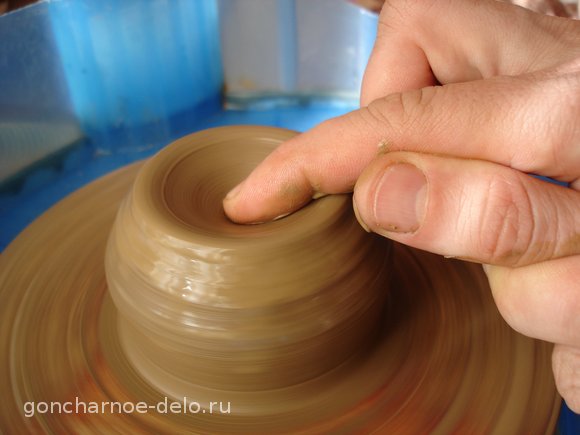
We reach the bottom of the vessel – the bottom is about half a centimeter thick. If you find it difficult to catch the moment when to stop – try to make flower pots with a hole – so you immediately see which thickness is obtained at the bottom.
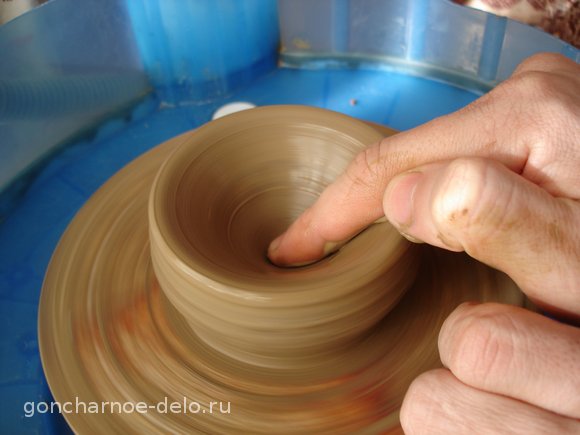
Then slowly bend your finger while pushing the clay. Your finger moves horizontally, forming the bottom of the vessel.
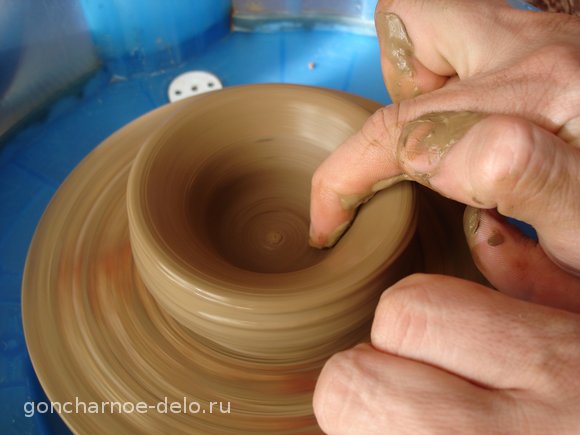
We reach the point where the wall thickness at the bottom of the vessel will be approximately equal to the thickness over the entire height.
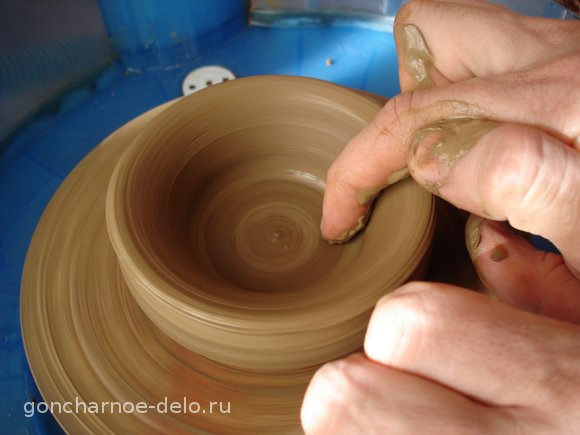
If the walls are too much deviated to the side, they need to be a bit narrow.
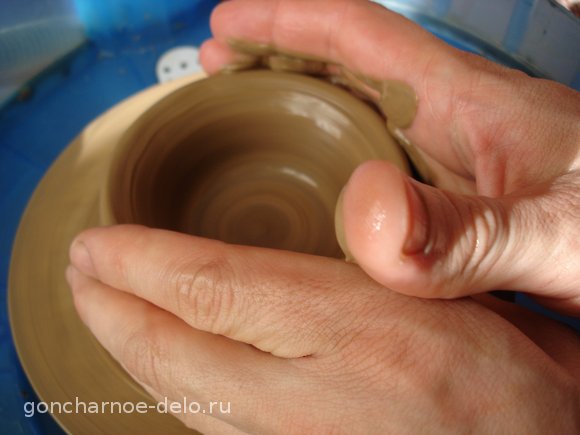
To do this, embrace pot on all sides and slowly move the fingers to the center.
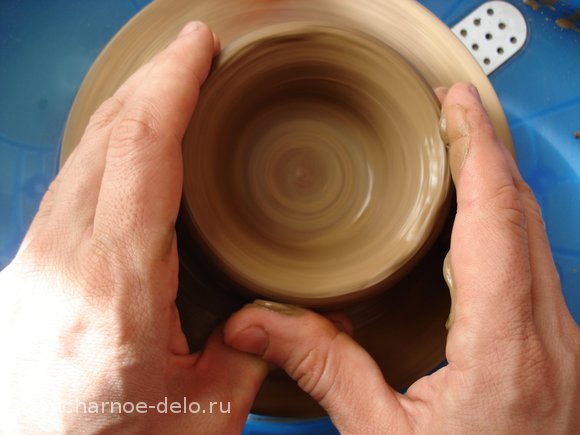
Now, the fingers can hold the bottom-up and check the wall thickness along the entire height.
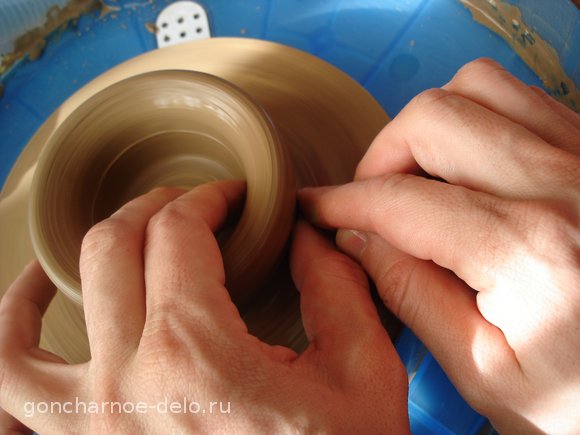
There are basically only index fingers, the others on grab.
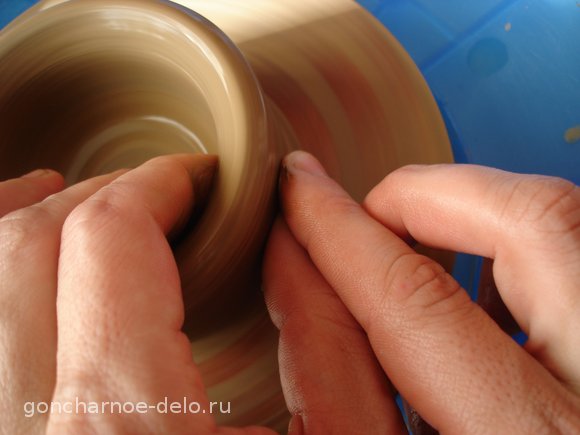
Be sure to align the edge of the vessel. Thumb and index finger of the left hand holding the wall thickness, and the index finger of the right – the top edge of the dub.
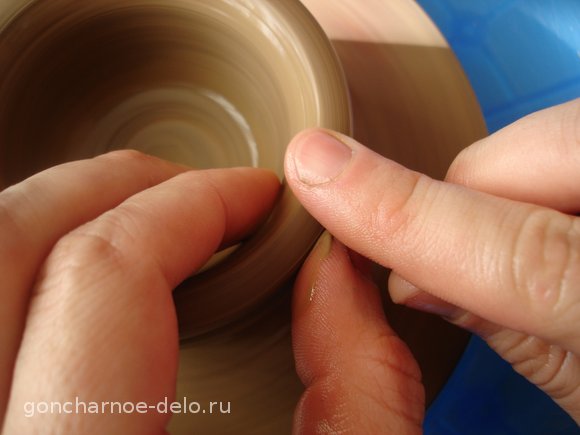
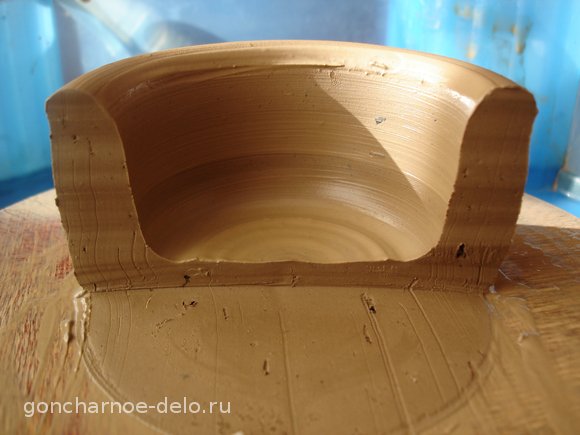
Here’s a we’ve got a thick-walled cylinder.
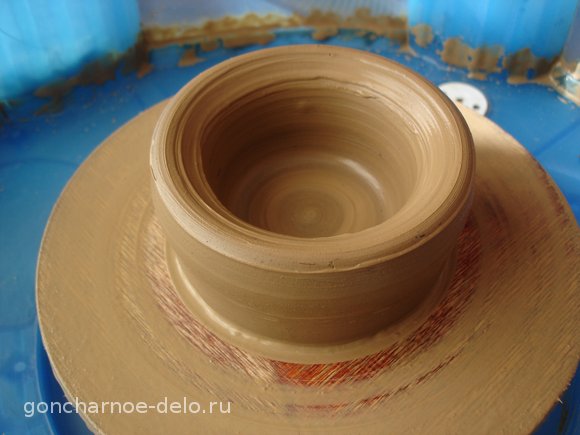
Cutaway:
In the next step we need to make the wall thinner and higher.
And while that’s all, thank you for your attention and see you soon))
Success to you in pottery!
Tags: Pottery Categories: Lessons
