Good afternoon, my dear friends… and everybody)). So, we begin to see into the main stages of work on a pottery wheel. Today we will learn centering. It is one of the most difficult stages for those who just begin to practice pottery. It is like brining up kids: you need children to obey and you also need to achieve obedience from clay. And this is not easy, you know…
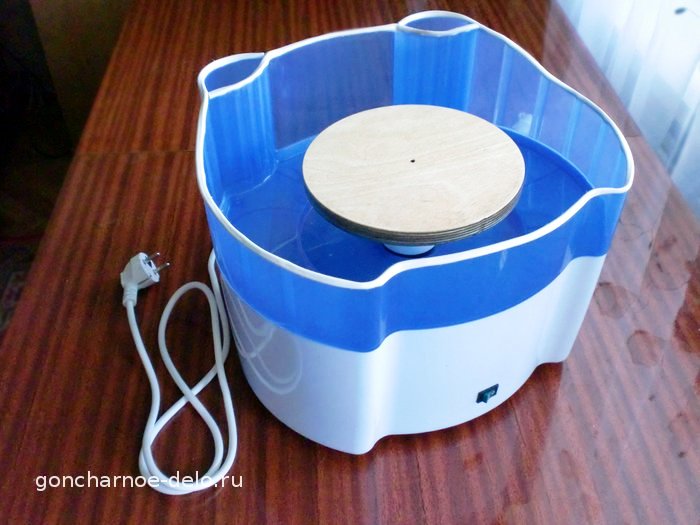
For work we will need a pottery wheel, a bowl with water, prepared piece of clay, a string, a sponge, and surely grateful viewers))).

As a first step you need to make sure that clay is soft. If you have finger printing on it and at the same time clay does not stick to your fingers (i.e. it is not too watery), proceed to the next step. If clay is hard wrap it in a wet piece of cloth and put it into a plastic bag for a while. If clay is too soft you need to dry it.

Now cut off a piece of the required size with a string. As a rule there are some pinholes in clay; also it may be heterogeneous in structure and density.

That’s why before putting a clay lump on a pottery wheel you need to beat it with your hand thoroughly. At the same time we form a ball out of this lump of clay.

Now we need to take a small piece of clay and turn on the pottery wheel.

And spread clay thinly circle wise. This layer is needed to attach a working lump of clay and not to lose it during work.

Turn off the wheel and attach our main piece of clay pressing it around the perimeter properly.

Now you will need water. It is our lubrication; it does not allow clay to stick to your hands. You need to add water from time to time when it is drained and soaked into clay.

Now again turn on the pottery wheel and start centering. Squeeze our lump with both hands. It is important to fix your hands; don’t let them “bounce” from bumps on the clay. Right here you need to make clay obedient: it should follow your hands and not the other way around.
As it is with children – it is necessary to teach them to fulfill their responsibilities (to clean up the room, for example) – so it is with clay – you need to “stick to your guns”. And as well as it is with children it is important not to go too far (not to squeeze too much). You can push away your child with such pressure; and clay will lose its shape and fly off the wheel.
Here you need soft power.

Gradually narrow down the lump of clay to make it a cone. And press with your right hand stronger and let your left hand support.


In this picture you can see the parts of the hands participating in centering.

Don’t forget to wipe off water with a sponge.

If you have a big lump of clay there is another “super take-over” of pottery kung fu. Your right hand is operating, the elbow is set against the belly, and the left hand holds the right one firmly helping it not to “respond” to the impulses of clay. (Sometimes parents need to join their efforts in bringing up the kids). Press the lump of clay slowly and surely molding it till the desired form.

There is another method: “fine treatment” (fine finishing). Here fingers are involved: they move from the bottom upwards and from top downward finishing all the bumps like a lathe knife.

You can cut off excessive clay at the bottom.

Likewise sliding your finger back and forth across the cone you can check how well it was centered; it should not bounce. If the finger bounce on some parts you need to even it a little bit more.

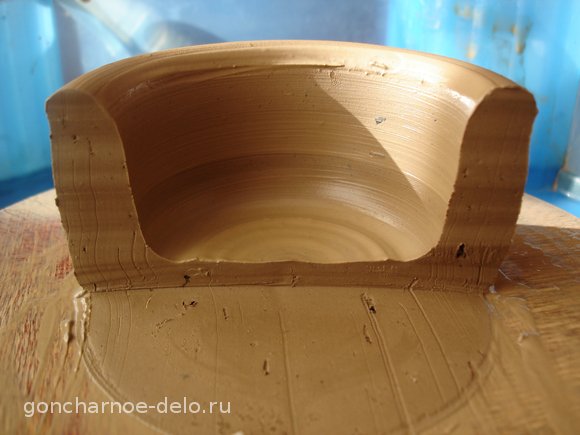
That’s the cone you should have.

Now you need to make the cone oblate-shaped (lower it down) like a stub (or a mushroom). The right hand (operating) presses from above; the left hand supports the form. And the palms of your right hand are adjacent to the side and prevent clay from bouncing.

These are the marks of clay when you try to lower it down.

This is the view from above. The right hand passes through the center and covers a half of the clay cone.

Slowly but surely continue to lower hands (literally, not figuratively).

That’s the “mushroom” you should have.

Sometimes it is enough to do these steps one time to center and knead clay well. But usually it takes more time and you need to raise clay and lower it down several times and only after that proceed further.
This is it for now. I wish you success in pottery! And see you soon “on the air”!
Tags: Pottery Categories: Lessons